When exposing an API in APIM you typically put it in a Product. You then create a subscription for that product, making it possible for consumers to use your Product, and for you to keep track of that usage. Sometimes, you might need to use a custom key, and not the key assigned by API manager.
Generating keys
You know that you typically do not need to generate keys for a subscription, keys are generated automatically when you create the subscription.
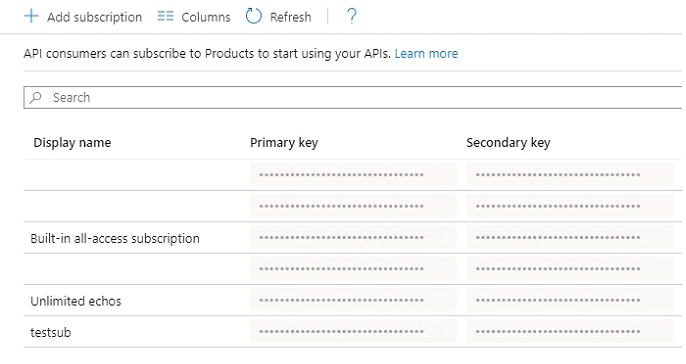
If you choose to, you can view the keys by clicking the three dots at the end of the row.
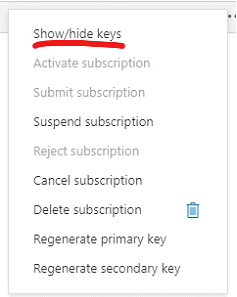
The key usually looks something like “1f9400c493e4403a807c3002dfc5cbb9”, and if you want to you can regenerate the primary or secondary keys.
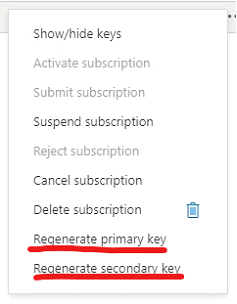
What if you needed to set that key instead? There might be reasons for it. For me, I needed to make sure the key had the same value between two environments (don’t ask).
Assigning keys
In order to assign keys, you need to use the APIM Management API (still the worst name since ever), but using that, it is very easy actually.
Enable the Management API
In order how to enable the API and learn how to generate access tokens, visit this page. In the end you should have an access token that looks something like
SharedAccessSignature integration&202003131741&EwaL4wDY7o8om3c…
This can be used as an authentication header in Postman to call the APIs. Note that the access token key will only work if you target the specific management API. More information below.
Another thing to know is that the Management API is not supported for the consumption model of APIm.
Find the right API to use
There are a lot of APIs connected to APIm. The complete list can be found here. The one we are looking for is called Subscription Update.
The subscription update API
one is a little special as it uses the http verb PATCH. This means that only fields sent in the body will be updated. The brother of this verb is PUT that usually wants an entire data object and updates everything, always.
The easiest way to use this is by using the access token generated above. This means that the URI used in the documentation is incorrect. If you want to use that API you need to access it using a Bearer Token. The path pointed out by the documentation is:
https://management.azure.com/subscriptions etc.
The one you need to use (the original access model) is:
https://{{serviceName}}.management.azure-api.net/subscriptions etc
Service name is the name of you APIm instance.
Using the API with Postman
I used postman to update the keys. You can actually do this from the API documentation portal, by clicking the “Try it” button in the documentation page and signing in, but I used postman and the original access model.
I setup postman using a environment variables and that resulted in this URL:
https://{{serviceName}}.management.azure-api.net/subscriptions/{{subscriptionId}}/resourceGroups/{{resourceGroupName}}/providers/Microsoft.ApiManagement/service/{{serviceName}}/subscriptions/test-1?api-version=2019-01-01
Test-1 is the ID of the subscription I am trying to assign keys for.
After constructing the URL you need to create a body that patches the properties PrimaryKey and SecondaryKey.
{
   "properties": {
     "primaryKey":"MyKey1",
     "secondaryKey":"MyKey2"
   }
 }
Lastly you need to authenticate. Do this by adding an Authorization header and put in the access token you got earlier. All this should result in the following PATCH.
PATCH  https://myapis.management.azure-api.net/subscriptions/e29827ab-0759-4d6d-80bc-198e82f6ae68/resourceGroups/myresourcegroupname/providers/Microsoft.ApiManagement/service/myapis/subscriptions/test-1?api-version=2019-01-01

Authentication SharedAccessSignature integration&202003131741&EwaL4wDY7o8om3c…

{
   "properties": {
     "primaryKey":"MyKey1",
     "secondaryKey":"MyKey2"
   }
 }
Examining the results
If you got back a 204 No content, that means success!
Go back into the APIm portal and find the subscription and look at the keys. They should now have the value you assigned, however limited and not smart.

Further research
Remember to use long and complex keys. I have not yet examined limits, like what chars are allowed, how long can a key be and so on.
Good luck and let me know.